Door hardware may seem like a small renovation detail, but you use it every day. A comfortable lever, a reliable latch, and a finish that suits the room all contribute to how your home looks and works.
Choosing hardware can also cause delays when something arrives that doesn’t fit. Start with a short measurement checklist, then decide on function, durability, and finish. A specialty source such as Doors for Pros lets you browse commercial and residential hardware once you know what your doors need.
The Five Things to Check Before You Shop
Five details guide your choice: function, existing holes and door thickness, mechanism type, backset, and handing. Record them for each door before ordering.
1. Function for Each Door
Decide what each door needs to do: lock with a key, lock from the inside only, latch without locking, or simply provide a pull. Write this down door by door; the room-by-room guide below will help.
2. Pre-Drilled or New
Many residential locksets fit a 2-1/8-inch face bore, the round hole through the door. Some deadbolts also fit a 1-1/2-inch bore, so measure rather than assuming. An undrilled door requires preparation using the hardware manufacturer’s template. Note thickness too: interior doors are often 1-3/8 inches thick and exterior doors 1-3/4 inches, but your measurements must match the lockset’s specifications.
3. Tubular or Mortise
Many modern homes use tubular hardware, which fits through a round face bore and a smaller hole in the door edge. Older homes may have mortise locks, with a rectangular pocket cut into the edge. Switching between them usually requires carpentry, so matching the existing preparation is simpler unless you’re replacing the door.
4. Backset
Backset is the distance from the edge of the door to the center of the face bore. Common residential sizes are 2-3/8 inches and 2-3/4 inches. Measure to the middle of the hole. Many latches adjust to either size, but confirm before ordering.
5. Handing
Handing describes the direction a door swings and can affect which lever or lock you need. Record the hinge side as viewed from outside the room or building, plus whether the door swings toward or away from you. Then follow the manufacturer’s handing diagram. Naming conventions vary, and some levers are reversible while others must be ordered for a specific hand.
Knobs or Levers: Looks and Everyday Use
Knobs suit many traditional or cottage interiors. Levers offer a broad range of styles: a slim, straight lever looks modern, while a curved profile feels more traditional. Levers are also easier to operate with full hands or limited grip.
Pick the Right Function for Each Room
Bedrooms and bathrooms usually need privacy sets, which lock from inside and have an emergency release outside. Hallways, closets, and pantries typically use passage sets, which latch but don’t lock. A dummy set is a fixed knob or lever with no latch, useful where a separate catch holds the door closed. Exterior doors commonly use a keyed entry set paired with a deadbolt, though compatible passage hardware can also accompany a separate deadbolt.
Double-cylinder deadbolts need a key on both sides and can delay escape. They’re restricted in many exit-door applications, so check local requirements before choosing one.
Security and Durability: What the Grades Mean
Many locks carry an ANSI/BHMA grade from 1 to 3. Grade 1 meets the highest requirements within that product category. Testing covers repeated operation, strength, and other performance measures. Compare grades for the same type of hardware rather than assuming all Grade 1 products serve the same purpose.
For a busy exterior entry, Grade 2 or Grade 1 hardware is worth considering. Grade 3 may be adequate for a lightly used interior door. You can browse commercial and residential hardware, including surface-mounted door closers and Grade 1 cylindrical locks, at doors for pros. Check installation requirements carefully, since commercial hardware doesn’t always fit residential door preparation.
Installation matters too. On an exterior door, a reinforced strike plate with suitable screws reaching the framing can improve resistance to forced entry. Follow the hardware instructions and check for nearby wiring before drilling.
Finishes You Will Still Love in Five Years
Choose a finish that works with the materials you plan to keep, rather than relying on current trends. Compare samples against your door paint, flooring, and nearby fixtures. The same finish name can look different across manufacturers, especially with brass and bronze tones.
Warm metals such as brass and bronze often suit warm palettes; nickel and chrome can complement cooler ones. Black works with either. Using one door-hardware finish through connected spaces creates consistency, but you don’t need to match every faucet or light fixture. Mixed metals look more deliberate when each appears in more than one place.
Smart Locks Without Headaches
A smart lock still needs to match the door’s bore, backset, and thickness. Check how it connects, whether through Wi-Fi, a separate hub, or another supported system, and confirm compatibility with your household’s phones and smart-home setup. Some features require additional equipment.
Check what happens if the battery dies or the network goes down. A keypad may work without internet but still needs power, so look for a physical key or another documented emergency-access method. Leave enough room around the interior housing to change batteries, and fix any door misalignment before installation.
Pocket, Barn, and Glass Doors
Pocket doors typically need recessed pulls and an edge pull to retrieve the door from its pocket. For a bathroom, choose compatible privacy hardware with an emergency release. Bypass doors often use recessed pulls so the panels can slide past each other.
Barn doors need pulls with adequate clearance and dedicated hardware if you want them to latch. Gaps around the panel can limit privacy. Glass and metal doors require hardware suited to their construction; follow the door manufacturer’s instructions rather than assuming you can drill new holes.
When a Door Has to Close Itself
Code note: Fire-rated doors and some garage-to-house doors may need to close and latch automatically, depending on local requirements. A suitable closer or approved self-closing hinge can provide that function. Use hardware approved for the door assembly, and have the closing speed, opening force, and latching checked against applicable rules. Confirm requirements with your local building department before making changes.
Hinges and the Small Details
Match hinge size and corner shape to the existing cutout unless you plan to modify it. Also check that the hinges can support the door’s weight. Ball-bearing hinges are useful for heavy or frequently used doors. Place a suitable doorstop where it prevents the knob or lever from hitting the wall.
Shop Smart
Keep your door checklist beside you while shopping. Filter by function and fit, then compare grade and finish. Doors for Pros is one option for browsing both residential hardware and commercial products such as surface-mounted closers and Grade 1 cylindrical locks. Confirm each product’s backset, thickness range, handing, and included parts before ordering.
Wherever you buy, check whether strikes, mounting screws, and any required adapters are included. Coordinate visible accessories such as stops and door viewers, and review the return policy before opening or installing everything.
Installation and Timeline Tips
Check one set for fit before unpacking hardware for every door. Dry-fit the rosette, the trim around the knob or lever, to ensure it covers the bore. Keep each door’s parts in a labeled bag, and test both latching and locking with the door open before closing it.
If several doors are keyed, ask whether compatible locks can be keyed alike. A screwdriver and tape measure cover many straightforward replacements; drilling or chiseling may be needed when the door preparation changes. Plan any cutting and fitting before final painting, and install finished hardware after the coating has cured.
Key Takeaway
Measure first, choose the right function for each room, and compare durability and finishes after confirming fit. A clear door-by-door checklist helps prevent ordering mistakes and makes installation easier.


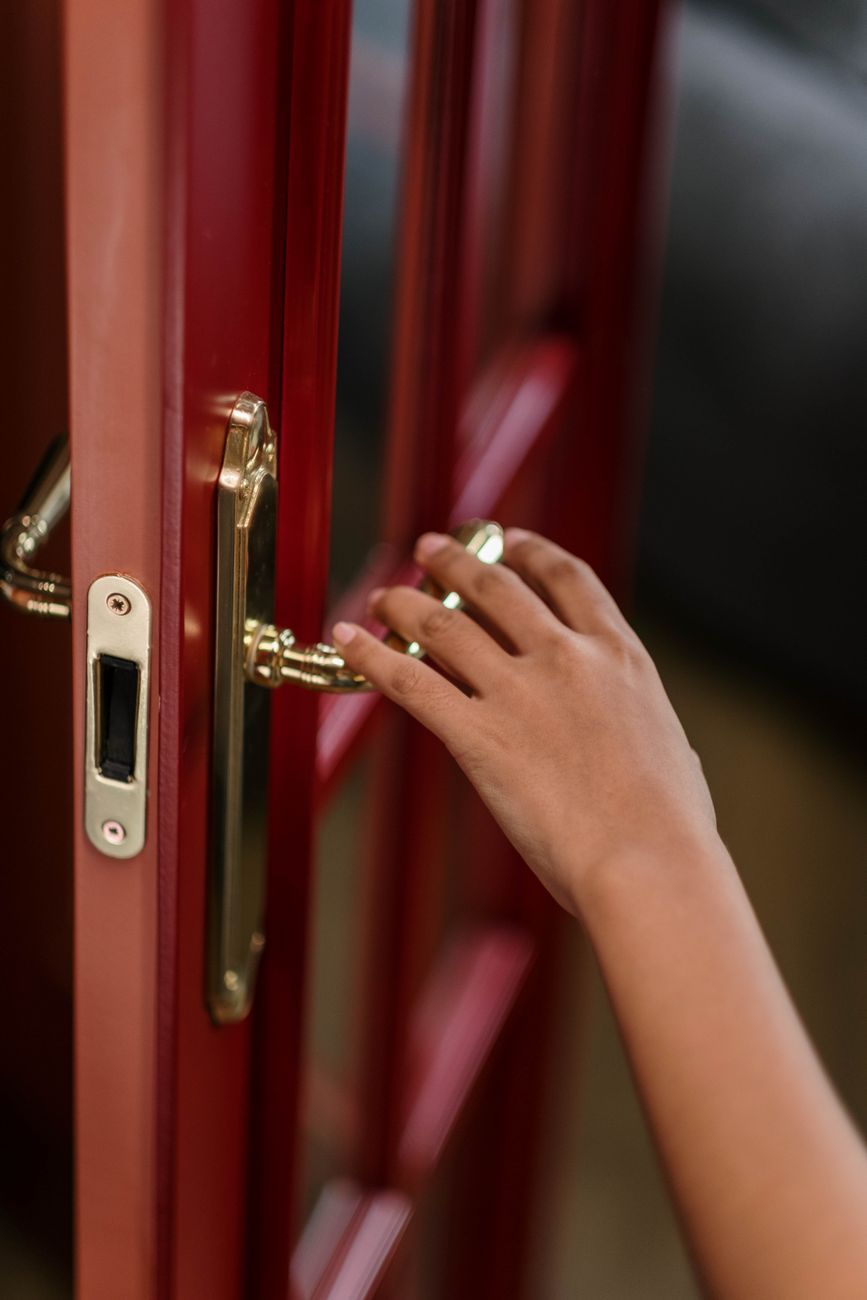
Door hardware may seem like a small renovation detail, but you use it every day. A comfortable lever, a reliable latch, and a finish that suits the room all contribute to how your home looks and works.
Choosing hardware can also cause delays when something arrives that doesn’t fit. Start with a short measurement checklist, then decide on function, durability, and finish. A specialty source such as Doors for Pros lets you browse commercial and residential hardware once you know what your doors need.
The Five Things to Check Before You Shop
Five details guide your choice: function, existing holes and door thickness, mechanism type, backset, and handing. Record them for each door before ordering.
1. Function for Each Door
Decide what each door needs to do: lock with a key, lock from the inside only, latch without locking, or simply provide a pull. Write this down door by door; the room-by-room guide below will help.
2. Pre-Drilled or New
Many residential locksets fit a 2-1/8-inch face bore, the round hole through the door. Some deadbolts also fit a 1-1/2-inch bore, so measure rather than assuming. An undrilled door requires preparation using the hardware manufacturer’s template. Note thickness too: interior doors are often 1-3/8 inches thick and exterior doors 1-3/4 inches, but your measurements must match the lockset’s specifications.
3. Tubular or Mortise
Many modern homes use tubular hardware, which fits through a round face bore and a smaller hole in the door edge. Older homes may have mortise locks, with a rectangular pocket cut into the edge. Switching between them usually requires carpentry, so matching the existing preparation is simpler unless you’re replacing the door.
4. Backset
Backset is the distance from the edge of the door to the center of the face bore. Common residential sizes are 2-3/8 inches and 2-3/4 inches. Measure to the middle of the hole. Many latches adjust to either size, but confirm before ordering.
5. Handing
Handing describes the direction a door swings and can affect which lever or lock you need. Record the hinge side as viewed from outside the room or building, plus whether the door swings toward or away from you. Then follow the manufacturer’s handing diagram. Naming conventions vary, and some levers are reversible while others must be ordered for a specific hand.
Knobs or Levers: Looks and Everyday Use
Knobs suit many traditional or cottage interiors. Levers offer a broad range of styles: a slim, straight lever looks modern, while a curved profile feels more traditional. Levers are also easier to operate with full hands or limited grip.
Pick the Right Function for Each Room
Bedrooms and bathrooms usually need privacy sets, which lock from inside and have an emergency release outside. Hallways, closets, and pantries typically use passage sets, which latch but don’t lock. A dummy set is a fixed knob or lever with no latch, useful where a separate catch holds the door closed. Exterior doors commonly use a keyed entry set paired with a deadbolt, though compatible passage hardware can also accompany a separate deadbolt.
Double-cylinder deadbolts need a key on both sides and can delay escape. They’re restricted in many exit-door applications, so check local requirements before choosing one.
Security and Durability: What the Grades Mean
Many locks carry an ANSI/BHMA grade from 1 to 3. Grade 1 meets the highest requirements within that product category. Testing covers repeated operation, strength, and other performance measures. Compare grades for the same type of hardware rather than assuming all Grade 1 products serve the same purpose.
For a busy exterior entry, Grade 2 or Grade 1 hardware is worth considering. Grade 3 may be adequate for a lightly used interior door. You can browse commercial and residential hardware, including surface-mounted door closers and Grade 1 cylindrical locks, at doors for pros. Check installation requirements carefully, since commercial hardware doesn’t always fit residential door preparation.
Installation matters too. On an exterior door, a reinforced strike plate with suitable screws reaching the framing can improve resistance to forced entry. Follow the hardware instructions and check for nearby wiring before drilling.
Finishes You Will Still Love in Five Years
Choose a finish that works with the materials you plan to keep, rather than relying on current trends. Compare samples against your door paint, flooring, and nearby fixtures. The same finish name can look different across manufacturers, especially with brass and bronze tones.
Warm metals such as brass and bronze often suit warm palettes; nickel and chrome can complement cooler ones. Black works with either. Using one door-hardware finish through connected spaces creates consistency, but you don’t need to match every faucet or light fixture. Mixed metals look more deliberate when each appears in more than one place.
Smart Locks Without Headaches
A smart lock still needs to match the door’s bore, backset, and thickness. Check how it connects, whether through Wi-Fi, a separate hub, or another supported system, and confirm compatibility with your household’s phones and smart-home setup. Some features require additional equipment.
Check what happens if the battery dies or the network goes down. A keypad may work without internet but still needs power, so look for a physical key or another documented emergency-access method. Leave enough room around the interior housing to change batteries, and fix any door misalignment before installation.
Pocket, Barn, and Glass Doors
Pocket doors typically need recessed pulls and an edge pull to retrieve the door from its pocket. For a bathroom, choose compatible privacy hardware with an emergency release. Bypass doors often use recessed pulls so the panels can slide past each other.
Barn doors need pulls with adequate clearance and dedicated hardware if you want them to latch. Gaps around the panel can limit privacy. Glass and metal doors require hardware suited to their construction; follow the door manufacturer’s instructions rather than assuming you can drill new holes.
When a Door Has to Close Itself
Code note: Fire-rated doors and some garage-to-house doors may need to close and latch automatically, depending on local requirements. A suitable closer or approved self-closing hinge can provide that function. Use hardware approved for the door assembly, and have the closing speed, opening force, and latching checked against applicable rules. Confirm requirements with your local building department before making changes.
Hinges and the Small Details
Match hinge size and corner shape to the existing cutout unless you plan to modify it. Also check that the hinges can support the door’s weight. Ball-bearing hinges are useful for heavy or frequently used doors. Place a suitable doorstop where it prevents the knob or lever from hitting the wall.
Shop Smart
Keep your door checklist beside you while shopping. Filter by function and fit, then compare grade and finish. Doors for Pros is one option for browsing both residential hardware and commercial products such as surface-mounted closers and Grade 1 cylindrical locks. Confirm each product’s backset, thickness range, handing, and included parts before ordering.
Wherever you buy, check whether strikes, mounting screws, and any required adapters are included. Coordinate visible accessories such as stops and door viewers, and review the return policy before opening or installing everything.
Installation and Timeline Tips
Check one set for fit before unpacking hardware for every door. Dry-fit the rosette, the trim around the knob or lever, to ensure it covers the bore. Keep each door’s parts in a labeled bag, and test both latching and locking with the door open before closing it.
If several doors are keyed, ask whether compatible locks can be keyed alike. A screwdriver and tape measure cover many straightforward replacements; drilling or chiseling may be needed when the door preparation changes. Plan any cutting and fitting before final painting, and install finished hardware after the coating has cured.
Key Takeaway
Measure first, choose the right function for each room, and compare durability and finishes after confirming fit. A clear door-by-door checklist helps prevent ordering mistakes and makes installation easier.
Share this:
Like this: