A no-fuss guide to planting, harvesting, and enjoying your own spuds.
Growing your own potatoes is surprisingly easy, and incredibly satisfying. Whether you’ve got a big backyard, a raised garden bed, or just a few large pots on the balcony, potatoes don’t ask for much. A bit of soil, some sunshine, and a little patience will reward you with a crop of fresh, fluffy, flavour-packed spuds that put supermarket ones to shame. Here’s everything you need to know to get started.
A container or garden bed (large pots, grow bags, or deep tubs all work)
Good quality soil or compost
A sunny spot (at least 6 hours of sunlight per day)
Mulch or straw (for covering the plants as they grow)
Step 1: Choose Your Potatoes
Pick a variety suited to your climate and cooking preferences. Waxy types like Kipfler are great for salads, while starchy ones like Russet or Sebago are ideal for roasting and mashing.
Look for seed potatoes at garden centres or online nurseries. Avoid planting sprouted supermarket potatoes, as they may carry disease and aren’t bred for home growing.
Step 2: Prep Your Potatoes
If your seed potatoes are large, cut them into chunks with at least one or two “eyes” (small sprouting points) each. Let them sit in a cool, dry place for a couple of days so the cut surfaces can callous over, this helps prevent rot when planted. If they’re already small (egg-sized or smaller), plant them whole.
Photo by Polina Tankilevitch
Step 3: Plant in the Right Spot
Potatoes need loose, well-drained soil. If you’re using a container, choose one that’s at least 40cm deep. Add a base layer of soil about 10–15cm deep. Place your seed potatoes on the soil, eyes facing up, spaced about 30cm apart. Cover with another 10cm of soil or compost. Keep the soil moist but not soggy.
Step 4: Hill as They Grow
As the potato plants grow, keep covering the base of the stems with more soil, mulch, or straw. This is called “hilling” and it protects the tubers from sunlight (which turns them green and inedible) and encourages a bigger harvest. You’ll probably need to hill them every couple of weeks until the soil or mulch is near the top of your container or about 30cm deep in the ground.
Step 5: Water and Wait
Potatoes like consistent moisture, especially while the tubers are forming. Water when the top few centimetres of soil feel dry. Don’t let the soil dry out completely or stay soggy for long periods. Feed with a seaweed or vegetable fertiliser every few weeks if you want to boost growth.
Step 6: Harvest Time
Your potatoes are ready to harvest when the plants flower, and even more so when the leaves start to yellow and die back. This usually takes around 12–16 weeks depending on the variety.
Gently dig around the base of the plant with your hands or a small fork to pull up your spuds. If you’ve grown them in a bag or pot, just tip it over and sift through the soil. Let the potatoes dry for a few hours before storing.
Storing Your Potatoes
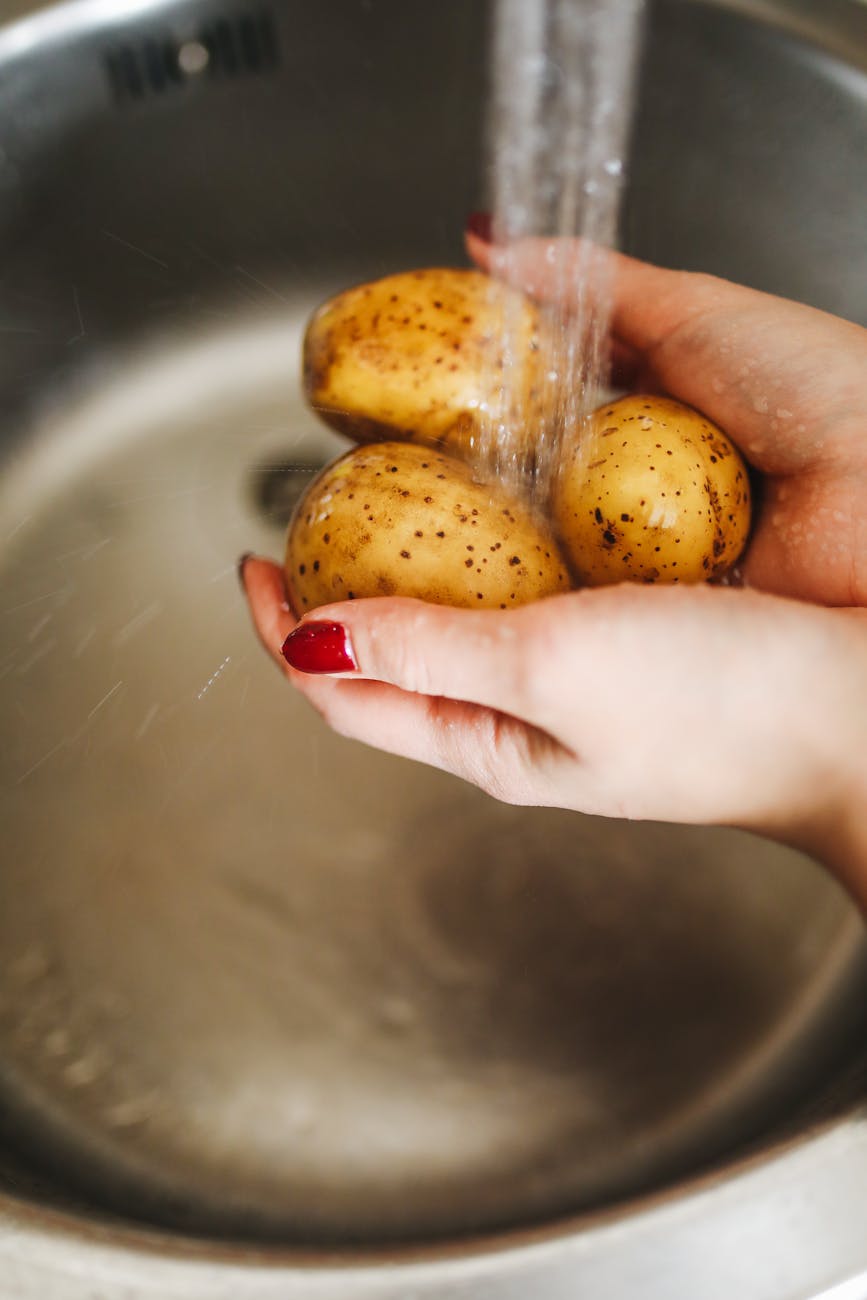
Store your harvest in a cool, dark, well-ventilated place. Don’t wash them until you’re ready to use them, moisture can shorten their shelf life. Use up any damaged or thin-skinned ones first.
Photo by Engin Akyurt
Final Tips
Rotate your potato spot each year to avoid soil-borne disease
Green potatoes are toxic, cut away any green bits or discard the whole spud
Try growing a mix of early and maincrop varieties for ongoing harvests
Whether you’re a beginner gardener or just potato-obsessed, growing your own is simple, affordable, and genuinely fun. Plus, there’s nothing quite like the taste of a spud you pulled out of the soil yourself.

A no-fuss guide to planting, harvesting, and enjoying your own spuds.
Growing your own potatoes is surprisingly easy, and incredibly satisfying. Whether you’ve got a big backyard, a raised garden bed, or just a few large pots on the balcony, potatoes don’t ask for much. A bit of soil, some sunshine, and a little patience will reward you with a crop of fresh, fluffy, flavour-packed spuds that put supermarket ones to shame. Here’s everything you need to know to get started.
What You’ll Need
Step 1: Choose Your Potatoes
Pick a variety suited to your climate and cooking preferences. Waxy types like Kipfler are great for salads, while starchy ones like Russet or Sebago are ideal for roasting and mashing.
Look for seed potatoes at garden centres or online nurseries. Avoid planting sprouted supermarket potatoes, as they may carry disease and aren’t bred for home growing.
Step 2: Prep Your Potatoes
If your seed potatoes are large, cut them into chunks with at least one or two “eyes” (small sprouting points) each. Let them sit in a cool, dry place for a couple of days so the cut surfaces can callous over, this helps prevent rot when planted. If they’re already small (egg-sized or smaller), plant them whole.
Step 3: Plant in the Right Spot
Potatoes need loose, well-drained soil. If you’re using a container, choose one that’s at least 40cm deep. Add a base layer of soil about 10–15cm deep. Place your seed potatoes on the soil, eyes facing up, spaced about 30cm apart. Cover with another 10cm of soil or compost. Keep the soil moist but not soggy.
Step 4: Hill as They Grow
As the potato plants grow, keep covering the base of the stems with more soil, mulch, or straw. This is called “hilling” and it protects the tubers from sunlight (which turns them green and inedible) and encourages a bigger harvest. You’ll probably need to hill them every couple of weeks until the soil or mulch is near the top of your container or about 30cm deep in the ground.
Step 5: Water and Wait
Potatoes like consistent moisture, especially while the tubers are forming. Water when the top few centimetres of soil feel dry. Don’t let the soil dry out completely or stay soggy for long periods. Feed with a seaweed or vegetable fertiliser every few weeks if you want to boost growth.
Step 6: Harvest Time
Your potatoes are ready to harvest when the plants flower, and even more so when the leaves start to yellow and die back. This usually takes around 12–16 weeks depending on the variety.
Gently dig around the base of the plant with your hands or a small fork to pull up your spuds. If you’ve grown them in a bag or pot, just tip it over and sift through the soil. Let the potatoes dry for a few hours before storing.
Storing Your Potatoes
Store your harvest in a cool, dark, well-ventilated place. Don’t wash them until you’re ready to use them, moisture can shorten their shelf life. Use up any damaged or thin-skinned ones first.
Final Tips
Whether you’re a beginner gardener or just potato-obsessed, growing your own is simple, affordable, and genuinely fun. Plus, there’s nothing quite like the taste of a spud you pulled out of the soil yourself.
Share this:
Like this: