Garlic isn’t just one of the most flavour-packed ingredients in the kitchen, it’s also one of the easiest crops to grow, especially if you’re aiming for organic garlic. Whether you have sprawling raised beds, compact containers, or even just a few pots on your balcony, garlic adapts with remarkable flexibility. In this guide, drawn from a decade of hands-on experience, we’ll break down everything you need to know, from garlic’s life cycle to soil prep, spacing, mulching, and harvest, so you can enjoy your most successful garlic crop yet.
Why Garlic is the Perfect Beginner Crop
Garlic is the definition of low-maintenance. Once you understand its natural rhythm, growing it becomes a “set and forget” task. Planted in autumn, garlic spends the winter dormant and bursts into growth come spring. Every clove contains all the genetic material it needs to form a full bulb of 6–14 new cloves by summer. It’s self-contained success especially when you start with good prep.
Garlic’s Life Cycle, Simply Explained
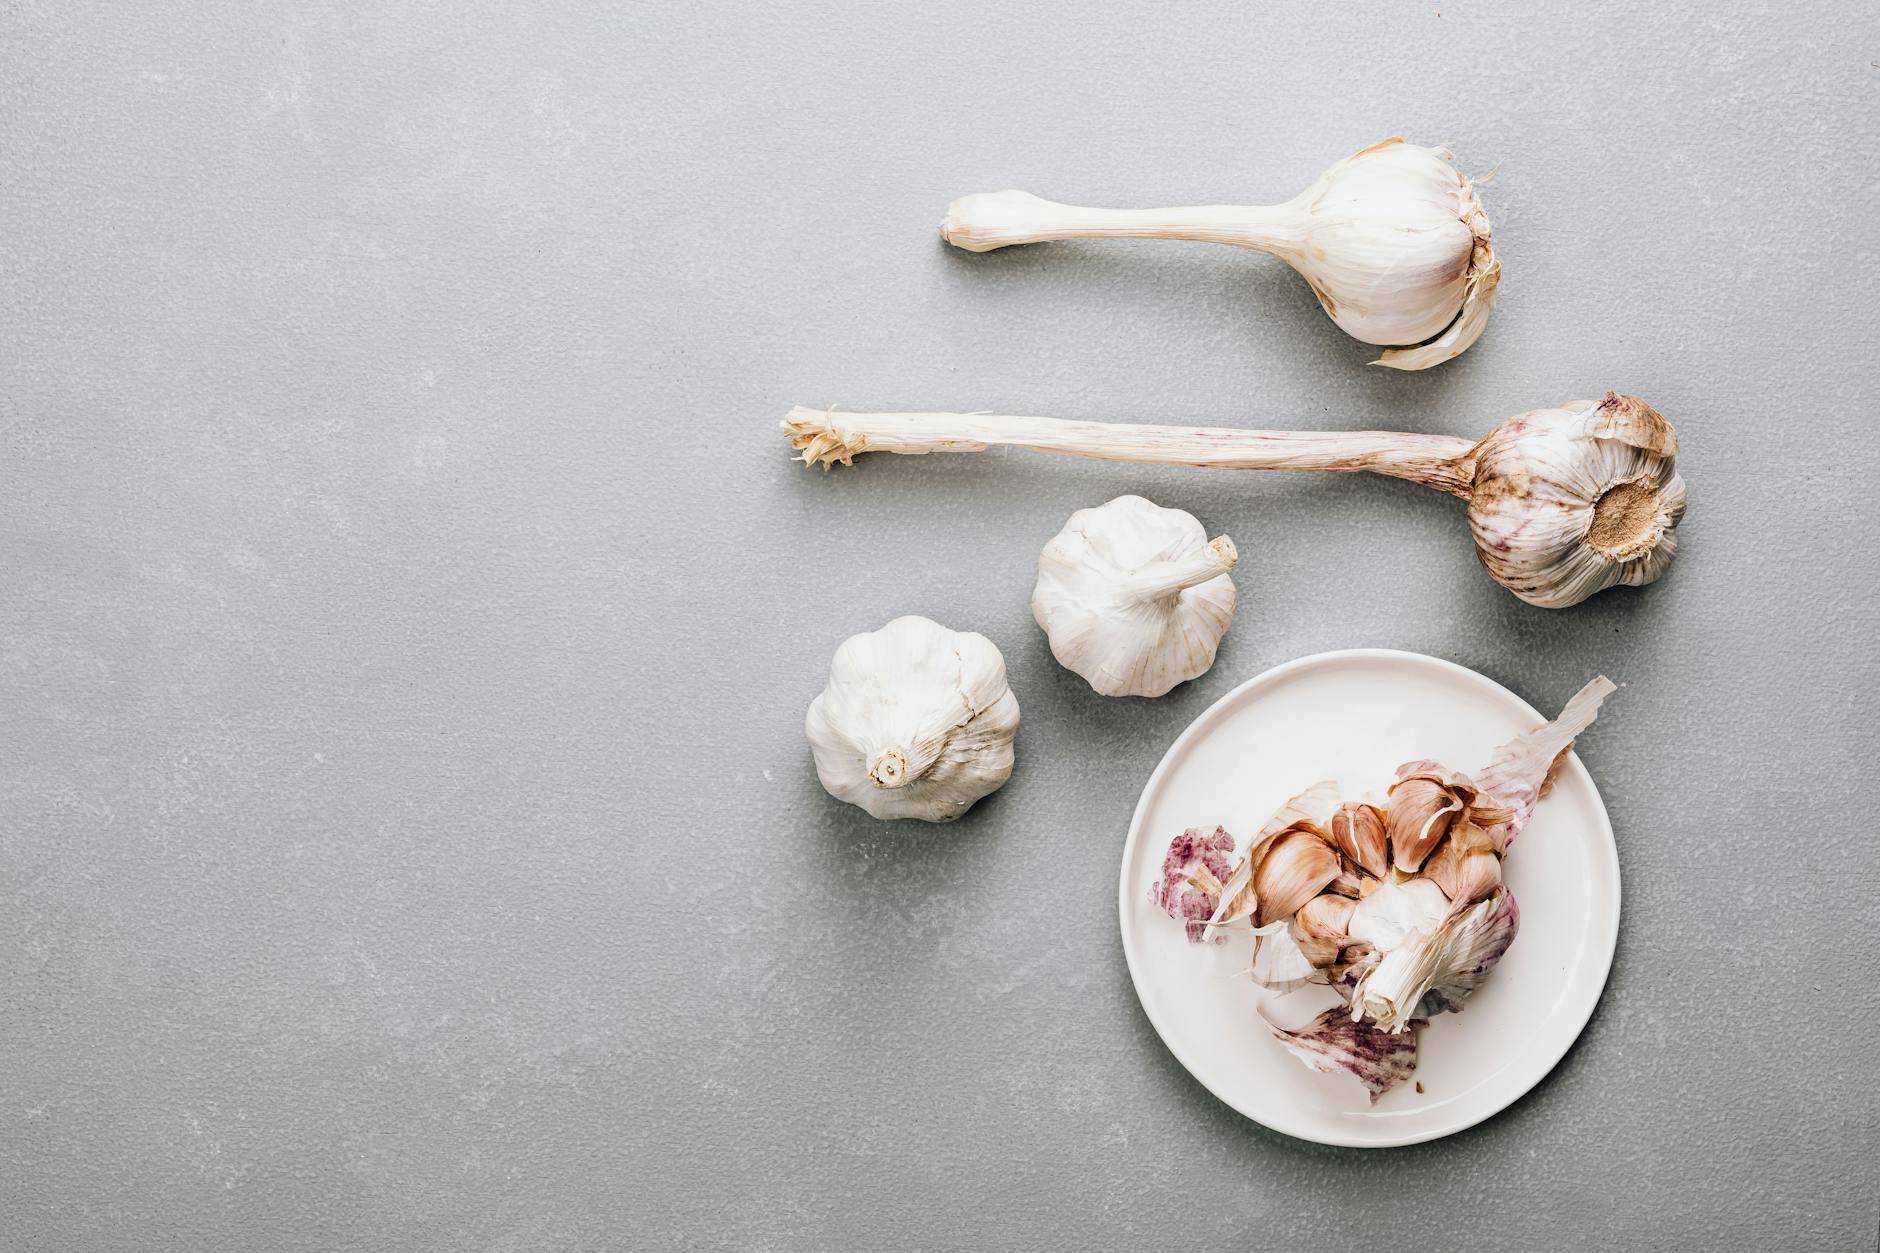
To grow your own organic garlic, you start with a bulb from this season. Separate it into individual cloves, each one becoming a future bulb. Here’s the trick:
Remove the outer paper sheath holding the bulb together.
Keep the paper on each clove intact—that’s its protective layer.
Don’t force stubborn cloves apart – Work around the bulb gently until they come loose.
Each bulb typically yields 6 to 10 plump cloves ready for planting.
Growing Garlic in Containers
Garlic thrives in containers. You don’t need fancy planters, just something that:
Drains well
Is at least 15cm deep
Has around 10cm between cloves for full growth
Container Setup Steps:
Start with a compost layer, about 5–7cm deep.
Top with premium potting mix (DIY or store-bought).
Garlic loves:
Loose, well-drained soil
Neutral pH
Around 5% added sand for drainage
Planting the Cloves:
Fill the container to the top, then press cloves down root-end first.
Space cloves 7–10cm apart.
Bury them about 2–3cm deep.
Lightly compress the soil by around 20% to settle it and top up as needed.
Even smaller round pots work. Just space cloves around the edge and centre, keeping 5cm from the sides. In a four-foot planter box, you can grow 10 bulbs comfortably. Stack them along a sunny wall for a functional garlic wall garden, organic garlic on demand.
Photo by Natalia S
Don’t Forget Mulch and Water
This might be the most important part of growing container garlic, especially before winter sets in:
Mulch generously with 5–7cm of straw, shredded leaves or grass clippings. This insulates the cloves, moderates moisture, and protects them from extreme cold.
Water deeply after planting. You likely won’t need to water again until spring, depending on rainfall.
Raised Beds: Bulk Growing for Garlic Lovers
If you’ve got a raised bed or garden plot, garlic’s an excellent choice for over-wintering crops.
Bed Preparation:
Clear out weeds and old mulch—cut them at the root collar if you’re following no-dig practices.
Lay down new rows of soil about 5cm deep using your garlic-friendly mix.
Spacing Rules:
Cloves 7–10cm apart
Keep 5cm from bed edges
Leave 15cm between rows
Plant the cloves root-end down. Unlike containers, you don’t bury them first. Instead, lay them on top of your fresh row, then bury them gently with 2–3cm of soil. It’s an extra step but worth it to stick with no-dig methods.
Finish with Mulch and Water:
Just like in containers:
Cover the entire bed with thick mulch.
Water deeply once. That’s your garlic sorted for the season.
Why Mulch Matters So Much
No matter where you plant, mulch is non-negotiable. It keeps the soil warm, retains just enough moisture, and protects young cloves from frost. Without it, your garlic might survive—but it won’t thrive. With it, you’re one step closer to a season of organic garlic.
When to Plant
Garlic needs to be in the ground six weeks before your region’s first hard frost. That gives it time to establish roots while still staying dormant during the cold months. In Australia, this typically means planting in late autumn to early winter.
The Payoff: Garlic Next Summer
Once planted, garlic largely takes care of itself:
You’ll see green shoots emerge in early spring.
Bulbs are usually ready for harvest in early to mid-summer.
You’ll know it’s time when the lower leaves start to brown.
Cure the bulbs by drying them in a shady, ventilated area for 2–3 weeks.
And that’s it, you’ve just grown your own organic garlic.
The Set-and-Forget Hero
Garlic is forgiving, robust, and massively satisfying to grow. Whether it’s tucked into raised beds or sitting pretty in patio containers, the process is straightforward and the results are delicious. With proper spacing, rich loose soil, thorough mulching, and smart watering, organic garlic is something any gardener regardless of experience can achieve.
And the best part? Once harvested, you can save a few bulbs, peel back those papery layers, and start the cycle again next season. Just one more reason garlic is the gift that keeps on giving.

Garlic isn’t just one of the most flavour-packed ingredients in the kitchen, it’s also one of the easiest crops to grow, especially if you’re aiming for organic garlic. Whether you have sprawling raised beds, compact containers, or even just a few pots on your balcony, garlic adapts with remarkable flexibility. In this guide, drawn from a decade of hands-on experience, we’ll break down everything you need to know, from garlic’s life cycle to soil prep, spacing, mulching, and harvest, so you can enjoy your most successful garlic crop yet.
Why Garlic is the Perfect Beginner Crop
Garlic is the definition of low-maintenance. Once you understand its natural rhythm, growing it becomes a “set and forget” task. Planted in autumn, garlic spends the winter dormant and bursts into growth come spring. Every clove contains all the genetic material it needs to form a full bulb of 6–14 new cloves by summer. It’s self-contained success especially when you start with good prep.
Garlic’s Life Cycle, Simply Explained
To grow your own organic garlic, you start with a bulb from this season. Separate it into individual cloves, each one becoming a future bulb. Here’s the trick:
Each bulb typically yields 6 to 10 plump cloves ready for planting.
Growing Garlic in Containers
Garlic thrives in containers. You don’t need fancy planters, just something that:
Container Setup Steps:
Planting the Cloves:
Even smaller round pots work. Just space cloves around the edge and centre, keeping 5cm from the sides. In a four-foot planter box, you can grow 10 bulbs comfortably. Stack them along a sunny wall for a functional garlic wall garden, organic garlic on demand.
Don’t Forget Mulch and Water
This might be the most important part of growing container garlic, especially before winter sets in:
Raised Beds: Bulk Growing for Garlic Lovers
If you’ve got a raised bed or garden plot, garlic’s an excellent choice for over-wintering crops.
Bed Preparation:
Spacing Rules:
Plant the cloves root-end down. Unlike containers, you don’t bury them first. Instead, lay them on top of your fresh row, then bury them gently with 2–3cm of soil. It’s an extra step but worth it to stick with no-dig methods.
Finish with Mulch and Water:
Just like in containers:
Why Mulch Matters So Much
No matter where you plant, mulch is non-negotiable. It keeps the soil warm, retains just enough moisture, and protects young cloves from frost. Without it, your garlic might survive—but it won’t thrive. With it, you’re one step closer to a season of organic garlic.
When to Plant
Garlic needs to be in the ground six weeks before your region’s first hard frost. That gives it time to establish roots while still staying dormant during the cold months. In Australia, this typically means planting in late autumn to early winter.
The Payoff: Garlic Next Summer
Once planted, garlic largely takes care of itself:
And that’s it, you’ve just grown your own organic garlic.
The Set-and-Forget Hero
Garlic is forgiving, robust, and massively satisfying to grow. Whether it’s tucked into raised beds or sitting pretty in patio containers, the process is straightforward and the results are delicious. With proper spacing, rich loose soil, thorough mulching, and smart watering, organic garlic is something any gardener regardless of experience can achieve.
And the best part? Once harvested, you can save a few bulbs, peel back those papery layers, and start the cycle again next season. Just one more reason garlic is the gift that keeps on giving.
Share this:
Like this: