Growing asparagus at home is a long-term investment, but if you’re patient, it pays off with fresh, tender spears every spring for up to 20 years or more. It’s one of the few perennial vegetables, meaning once it’s established, it keeps coming back year after year with very little effort. The key is starting right and giving your asparagus a strong foundation from the beginning.
Whether you have a big backyard or a small raised bed, here’s everything you need to know to successfully grow asparagus at home.
Why Grow Asparagus?
It’s perennial: Plant it once, and it can produce for decades.
It’s delicious: Homegrown asparagus is far superior to store-bought—sweeter, more tender, and picked at its peak.
It’s low maintenance: After the first year or two, it practically takes care of itself.
It saves money: Asparagus is expensive in supermarkets, especially organic.
Choosing the Right Variety
There are two main types: male hybrid varieties and open-pollinated (heirloom) varieties. Male hybrids tend to yield more spears and require less energy because they don’t produce seeds.
Top varieties to try
Jersey Giant / Jersey Knight – Popular hybrids, very productive and cold-hardy.
UC 157 – Great for warmer climates.
Purple Passion – Sweet and strikingly purple, fun for home gardens.
Martha Washington – An old-school heirloom variety with great flavour.
Seeds vs. Crowns: What to Plant
You can start asparagus fromseeds or crowns(1-year-old root systems).
Crowns are the easiest and fastest way to get started. They skip the fragile seedling phase and give you a head start by at least a year.
Seeds are cheaper and give you more control over the variety, but they take longer to establish and need more care in the early stages.
Recommendation: Go with crowns if you’re new to asparagus or want quicker results.
When and Where to Plant
Best time to plant: Early spring, as soon as the soil is workable and before the last frost.
Sunlight: Full sun—at least 6 to 8 hours a day.
Soil: Well-draining, fertile soil with a neutral to slightly alkaline pH (6.5–7.5). Avoid soggy soil; asparagus hates wet feet.
Space: Asparagus needs room. One crown needs about 12 to 18 inches of space in a row, and rows should be spaced at least 3 feet apart.
Pro tip: Choose a permanent location. Once planted, asparagus doesn’t like to be moved.
How to Plant Asparagus Crowns
Prepare the trench Dig a trench about 12–15 inches wide and 6–8 inches deep. Make a small mound of soil along the bottom.
Place the crowns Spread the roots over the mound like an octopus and cover them with 2 inches of soil.
Backfill gradually As the plants grow, add more soil every few weeks until the trench is full. This helps the young shoots establish strong roots.
Water well Keep the soil moist but not soggy during the first growing season.
Caring for Your Asparagus
Watering: Keep soil evenly moist, especially in the first year. After that, asparagus is fairly drought tolerant, but still appreciates regular watering during dry spells.
Mulching: Add a thick layer of mulch to keep weeds down and moisture in. This also helps keep soil temperatures steady.
Fertilising: Asparagus is a heavy feeder. Apply compost or a balanced organic fertiliser in early spring and again after harvest.
Weeding:Keep the bed weed-free, especially in the first couple of years when the plants are still getting established.
Don’t harvest the first year: Let the spears grow into tall ferns—this allows the roots to develop. You can start a light harvest in year two and go all in from year three onwards.
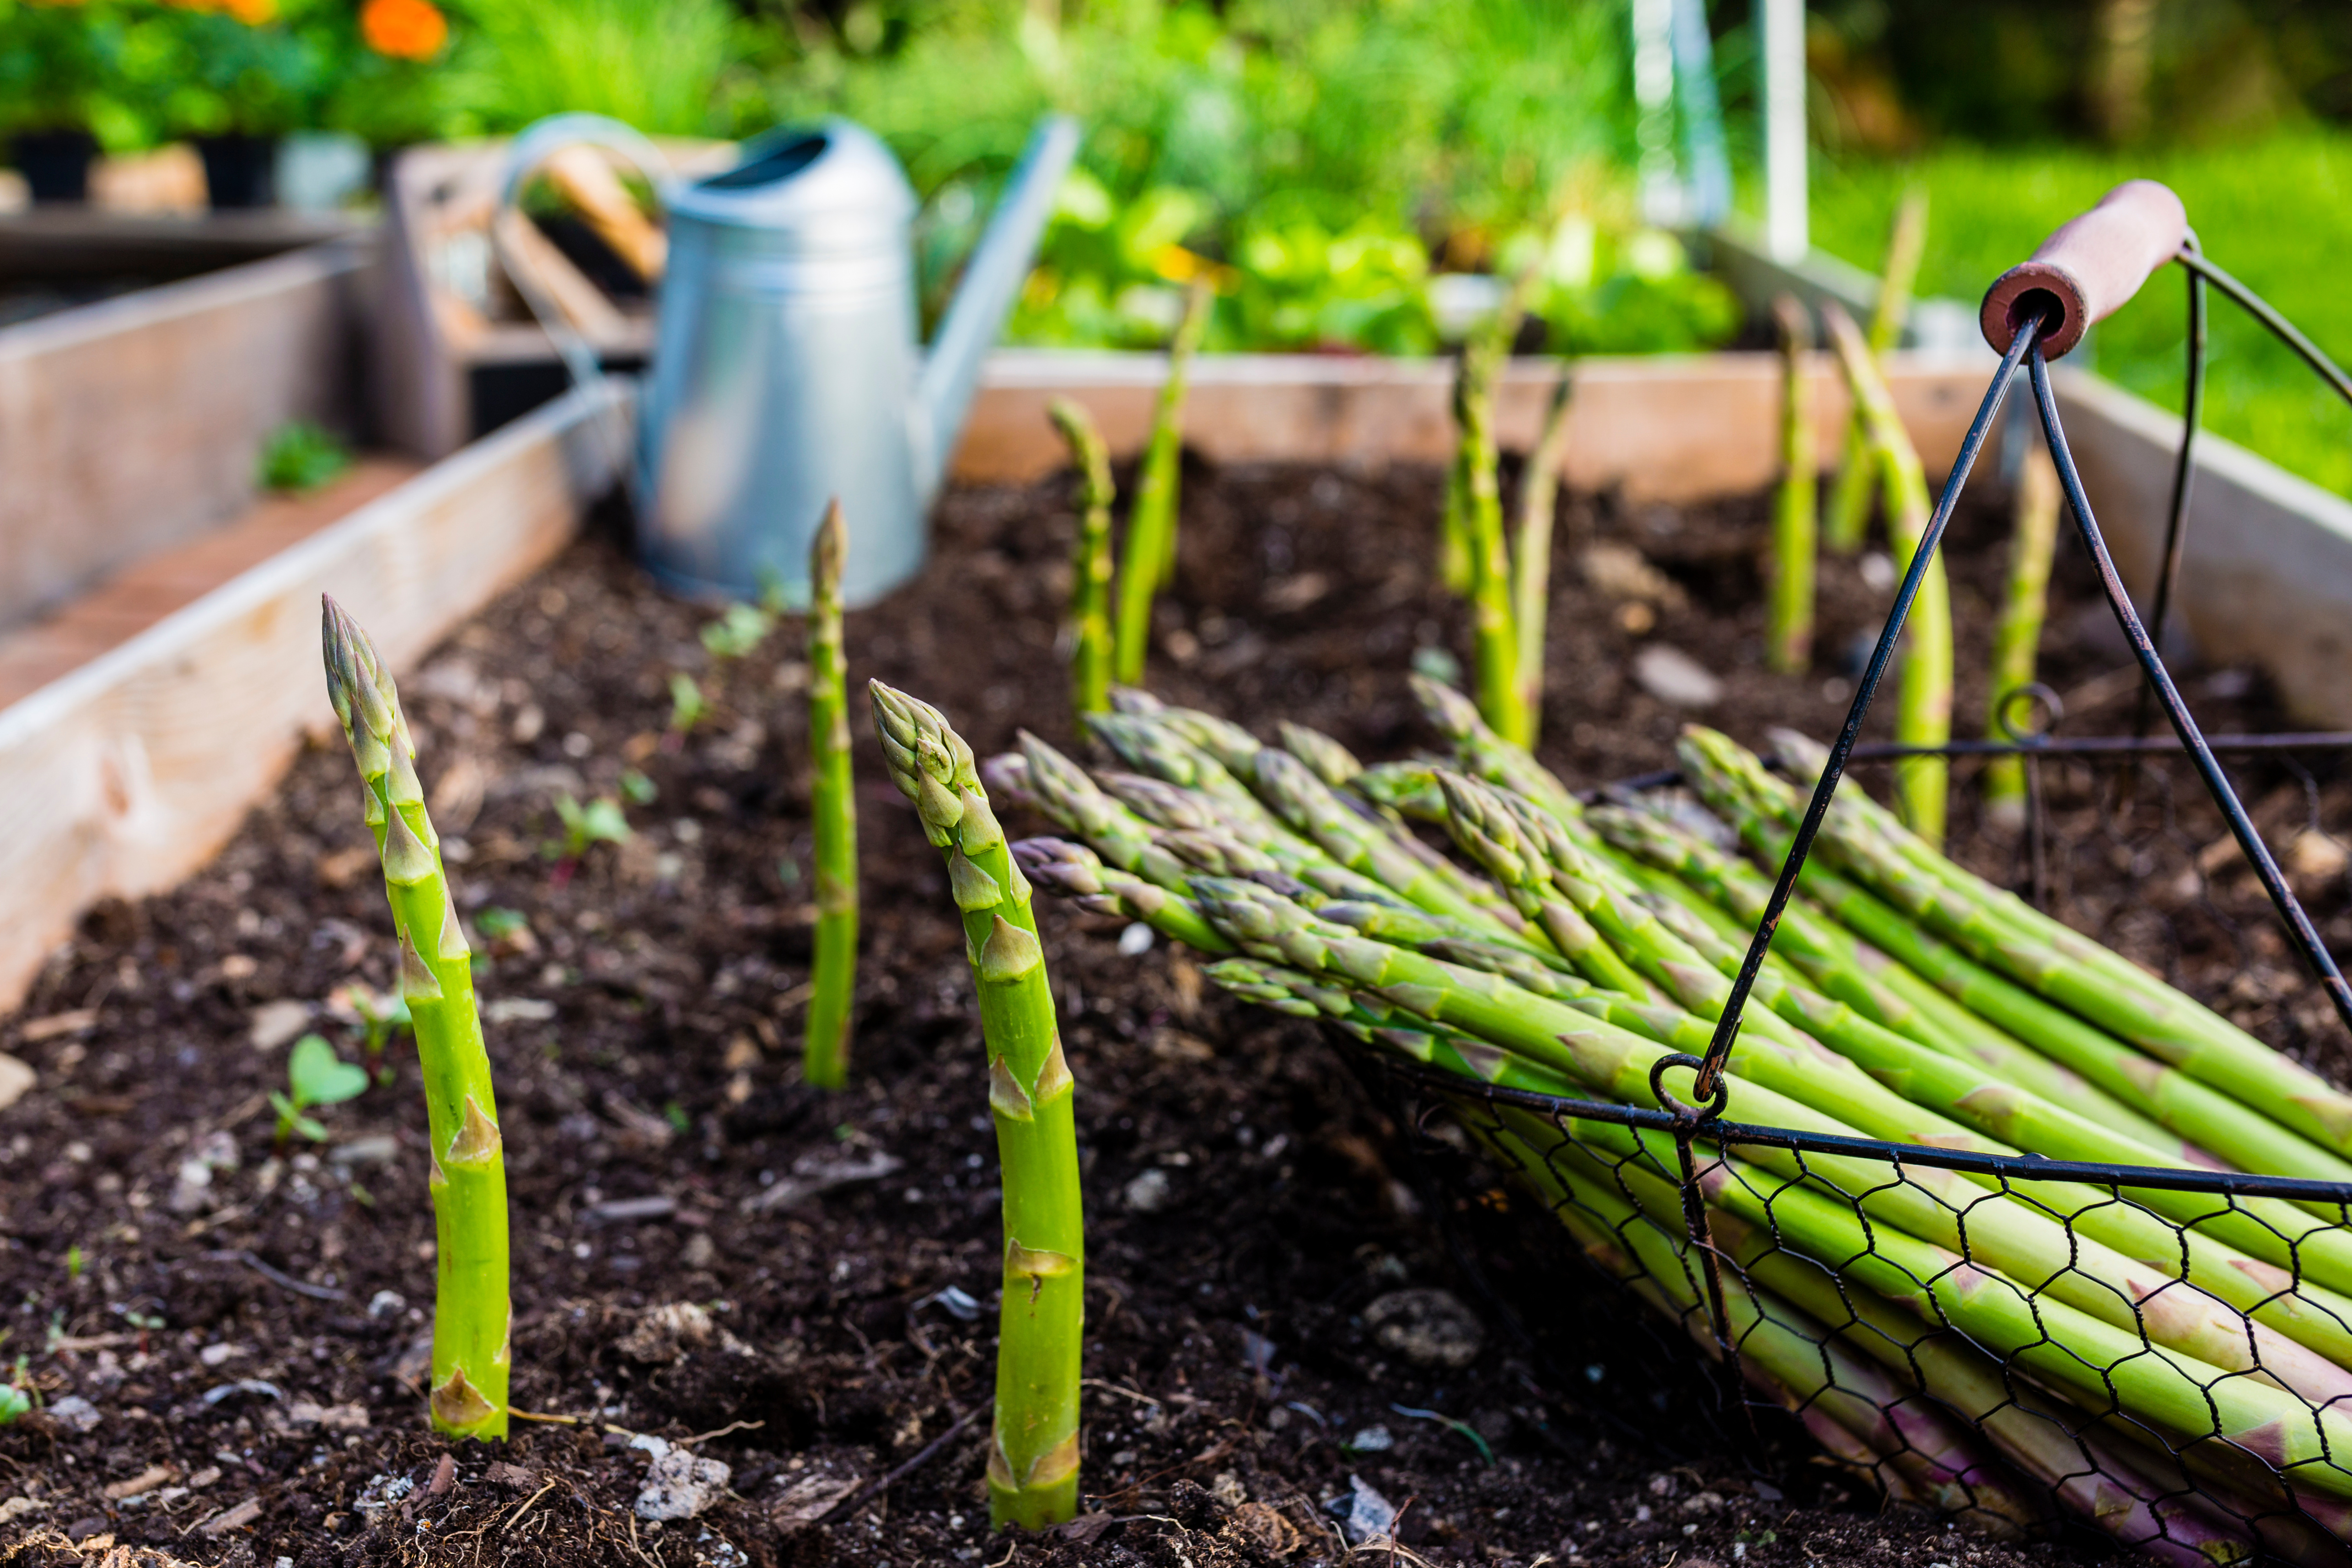
When and How to Harvest
Timing: In established beds, harvest starts in early to mid-spring when the spears are 6–8 inches tall and about the thickness of your finger.
How to harvest: Use a sharp knife or snap the spears off at soil level.
Harvest window: 6–8 weeks per season. Once the spears start getting thin (pencil-sized), stop harvesting and let them grow into ferns to nourish the roots.
End-of-Season Care
After harvest, let the ferns grow tall—this is crucial for feeding the plant and ensuring next year’s crop. In autumn, once the ferns yellow and die back, cut them to the ground and compost them.
Common Issues and How to Avoid Them
Weeds: Keep them out early and consistently. A thick mulch helps.
Asparagus beetles: Handpick or use neem oil spray.
Rust or blight: Avoid overhead watering, space plants properly, and remove any infected ferns.
Handy Tips and Ideas
Companion plants: Avoid planting asparagus near onions or garlic. Strawberries, tomatoes, and parsley can be good companions.
Add flowers nearby: Marigolds and nasturtiums can help deter pests and add beauty to your garden bed.
Try raised beds: Especially if your native soil is clay-heavy or poorly draining.
Mix varieties: Combine green and purple spears for visual interest and flavour variation.
Photo by Nataliya Vaitkevich
Growing asparagus at home is a slow start—but once it’s up and running, it’s one of the most rewarding things you can grow. With just a bit of effort in the first couple of seasons, you’ll be rewarded with fresh, tender spears year after year. Whether you’re tossing them on the grill, roasting them with lemon, or eating them raw in salads, there’s nothing quite like asparagus straight from your own garden.

Growing asparagus at home is a long-term investment, but if you’re patient, it pays off with fresh, tender spears every spring for up to 20 years or more. It’s one of the few perennial vegetables, meaning once it’s established, it keeps coming back year after year with very little effort. The key is starting right and giving your asparagus a strong foundation from the beginning.
Whether you have a big backyard or a small raised bed, here’s everything you need to know to successfully grow asparagus at home.
Why Grow Asparagus?
Choosing the Right Variety
There are two main types: male hybrid varieties and open-pollinated (heirloom) varieties. Male hybrids tend to yield more spears and require less energy because they don’t produce seeds.
Top varieties to try
Seeds vs. Crowns: What to Plant
You can start asparagus from seeds or crowns (1-year-old root systems).
Recommendation: Go with crowns if you’re new to asparagus or want quicker results.
When and Where to Plant
Pro tip: Choose a permanent location. Once planted, asparagus doesn’t like to be moved.
How to Plant Asparagus Crowns
Dig a trench about 12–15 inches wide and 6–8 inches deep. Make a small mound of soil along the bottom.
Spread the roots over the mound like an octopus and cover them with 2 inches of soil.
As the plants grow, add more soil every few weeks until the trench is full. This helps the young shoots establish strong roots.
Keep the soil moist but not soggy during the first growing season.
Caring for Your Asparagus
Watering: Keep soil evenly moist, especially in the first year. After that, asparagus is fairly drought tolerant, but still appreciates regular watering during dry spells.
Mulching: Add a thick layer of mulch to keep weeds down and moisture in. This also helps keep soil temperatures steady.
Fertilising: Asparagus is a heavy feeder. Apply compost or a balanced organic fertiliser in early spring and again after harvest.
Weeding:Keep the bed weed-free, especially in the first couple of years when the plants are still getting established.
Don’t harvest the first year: Let the spears grow into tall ferns—this allows the roots to develop. You can start a light harvest in year two and go all in from year three onwards.
When and How to Harvest
End-of-Season Care
After harvest, let the ferns grow tall—this is crucial for feeding the plant and ensuring next year’s crop. In autumn, once the ferns yellow and die back, cut them to the ground and compost them.
Common Issues and How to Avoid Them
Handy Tips and Ideas
Growing asparagus at home is a slow start—but once it’s up and running, it’s one of the most rewarding things you can grow. With just a bit of effort in the first couple of seasons, you’ll be rewarded with fresh, tender spears year after year. Whether you’re tossing them on the grill, roasting them with lemon, or eating them raw in salads, there’s nothing quite like asparagus straight from your own garden.
Share this:
Like this: